Step 1
Download the and run the client from here https://privatevpn.com/client/privatevpn-win-new.exe
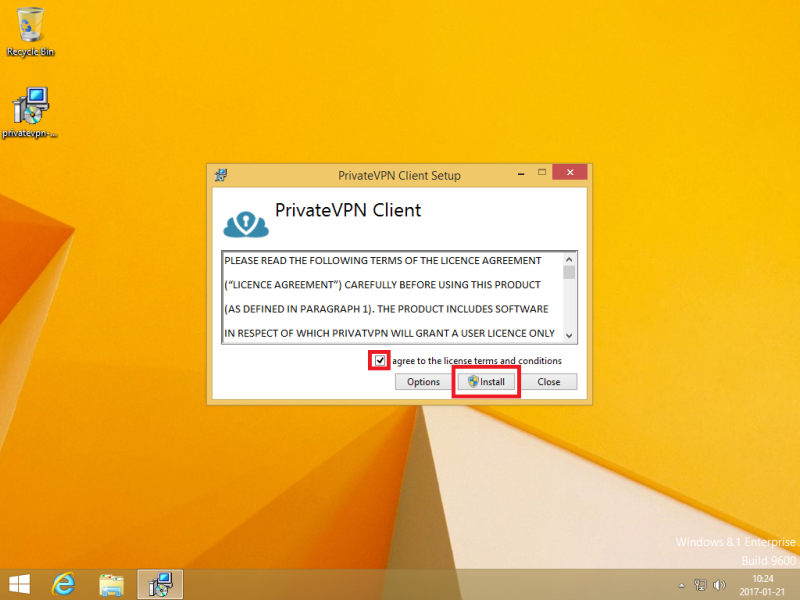
Step 2
Click on I Agree and then Install.
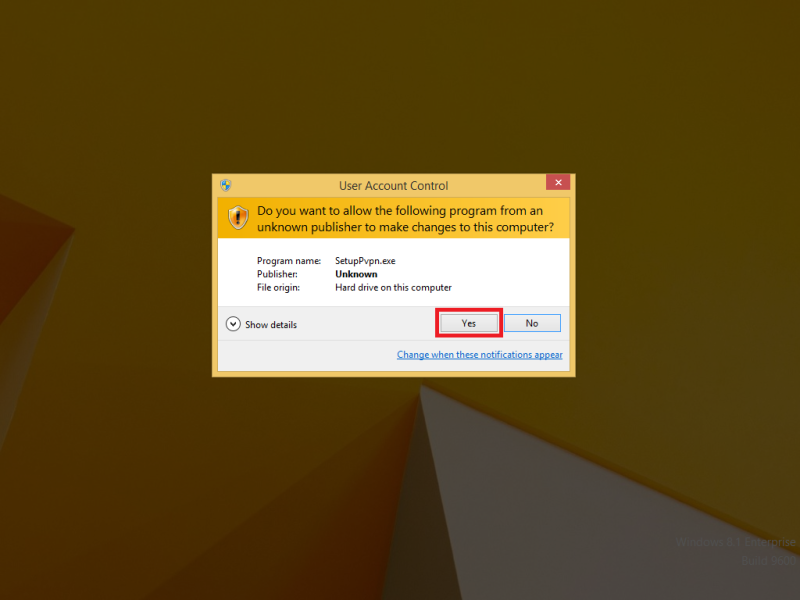
![Setting Up PrivateVPN APP on Your Windows 8.1 device](https://privatevpn.com/images/guides/800/1484990704.png)
Step 3
If you have UAC enabled, click on Yes.
![PrivateVPN APP Installation Process Screen](https://privatevpn.com/images/guides/800/1484990742.png)
Step 4
During installation you may get a question about installing TAP adapter. Tick Always trust and then click on Install.
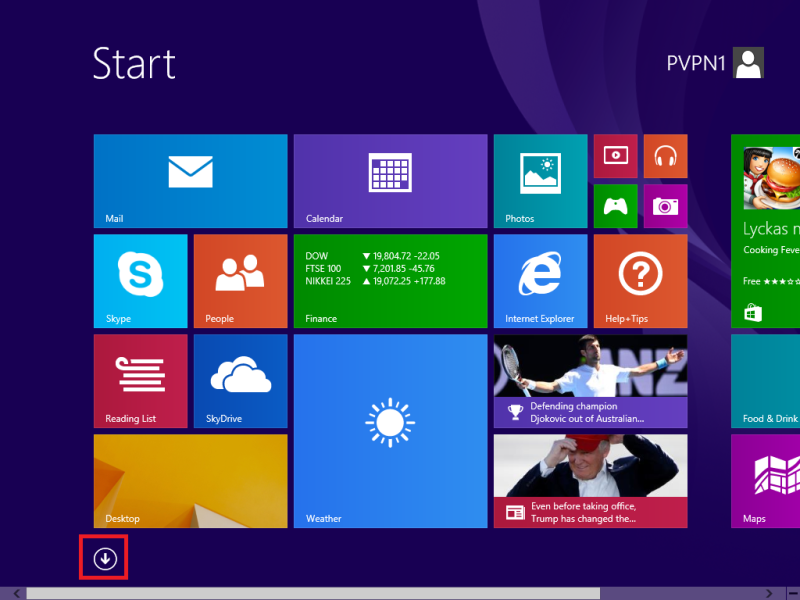
![Always Trust PrivateVPN Screen](https://privatevpn.com/images/guides/800/1484990834.png)
Step 5
Click on Windows start menu.
![Click on Windows start menu](https://privatevpn.com/images/guides/800/1484991110.png)
Step 6
Click on the arrow pointing down.
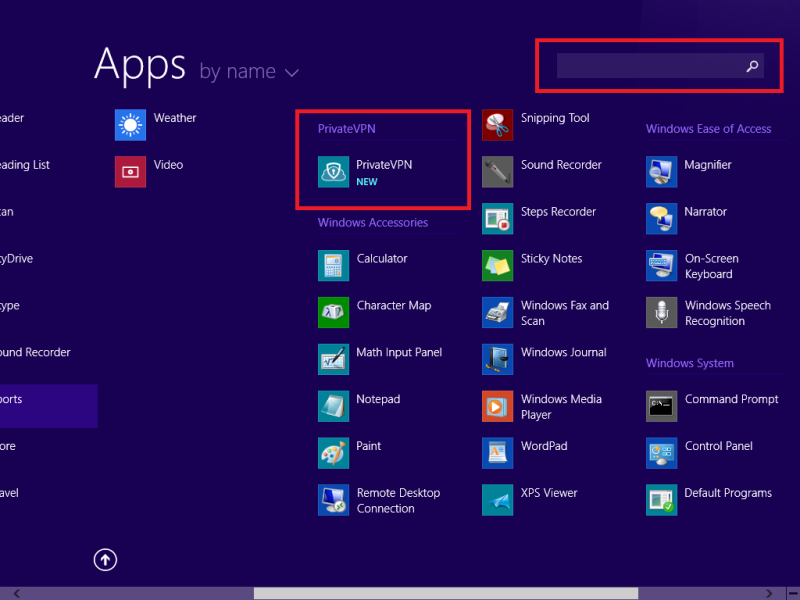
![Click on the arrow pointing down](https://privatevpn.com/images/guides/800/1484991149.png)
Step 7
Click on the new installed PrivateVPN application. If you can’t find it then you can search for it.
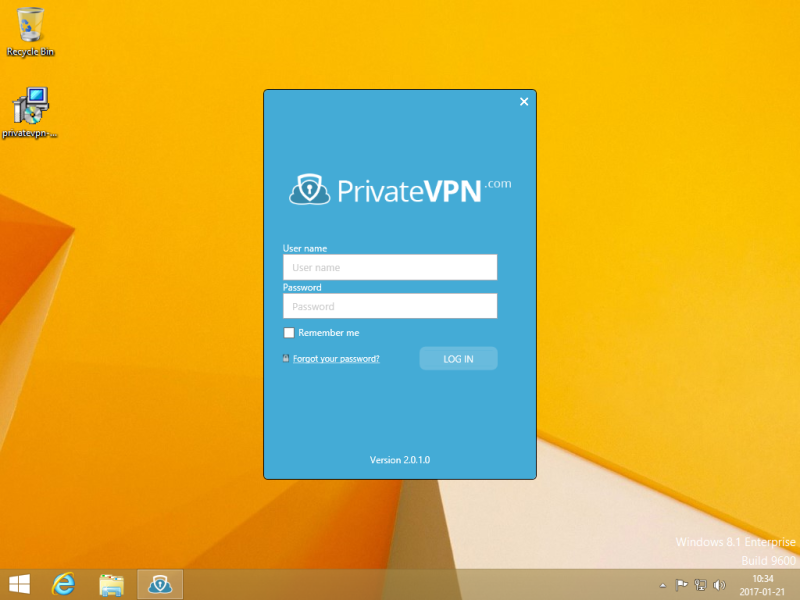
![Click on the new installed PrivateVPN application](https://privatevpn.com/images/guides/800/1484991220.png)
Step 8
Enter your User name and Password and then click on LOG IN.
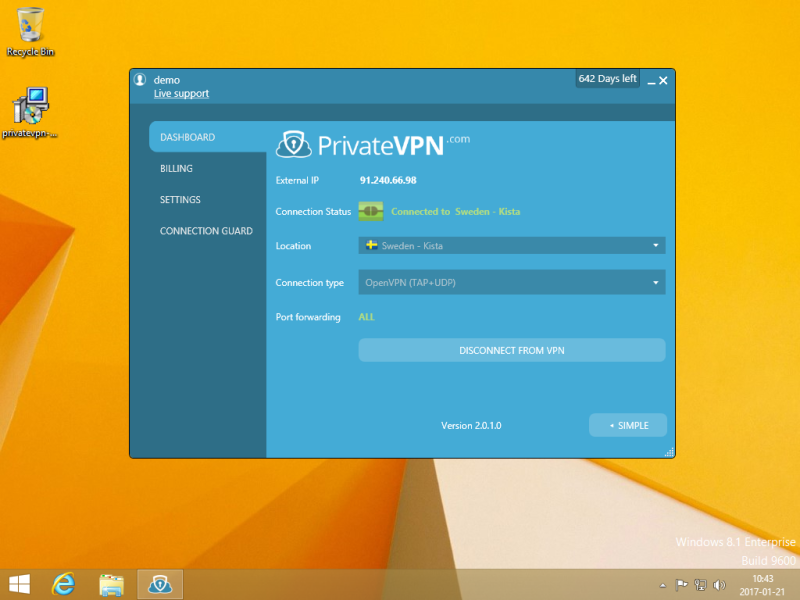
![PrivateVPN User Name and Password](https://privatevpn.com/images/guides/800/1484991285.png)
Step 9
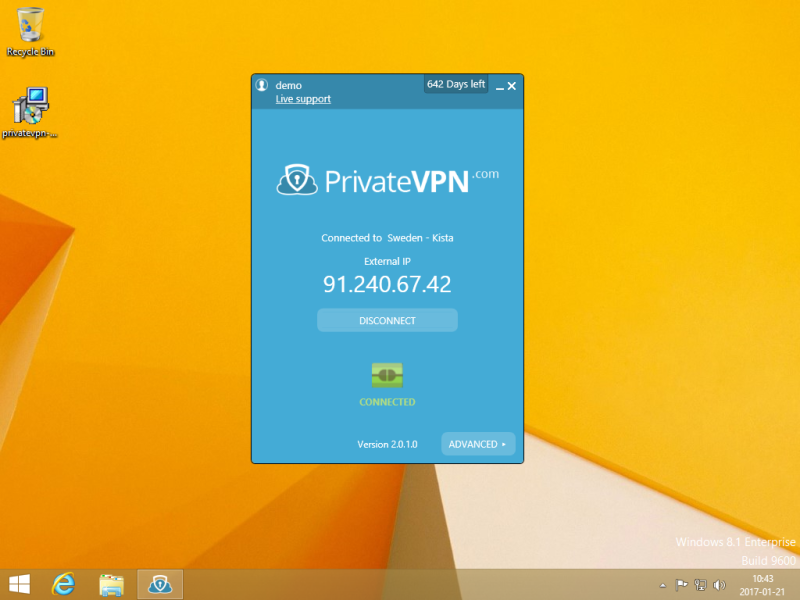
Select your favorite VPN server and then click on Connect.
Enjoy your private internet surf!
![Select Your Favorite VPN Server](https://privatevpn.com/images/guides/800/1484991813.png)
Simple Mode
Simple mode view.
![PrivateVPN Simple Mode](https://privatevpn.com/images/guides/800/1484991850.png)