
The Windows Firewall is a security application that is included in every latest Windows version by default. This tool is designed to filter network data transmissions in and out. Mainly, it is different from the Linux servers, as Windows Firewall is blocking almost all connections at first sight. So, after installing Windows Server, you need to set up the basics ‘Allow/Block‘ rules to intend inbound and outbound connections for any application that is on your server. Sometimes it could be annoying. However, it makes a higher level of security.
In this article, Hamster will provide the basic setup for security rules by demonstrating how to allow/block specific connections or software.
Requirements
Windows VPS with already installed OS (Windows Server 2012, 2016, 2019).
Connection to the VPS
Connect to your VPS via Remote Desktop (from Windows desktop) or rdesktop (from Linux).
Starting Windows Firewall
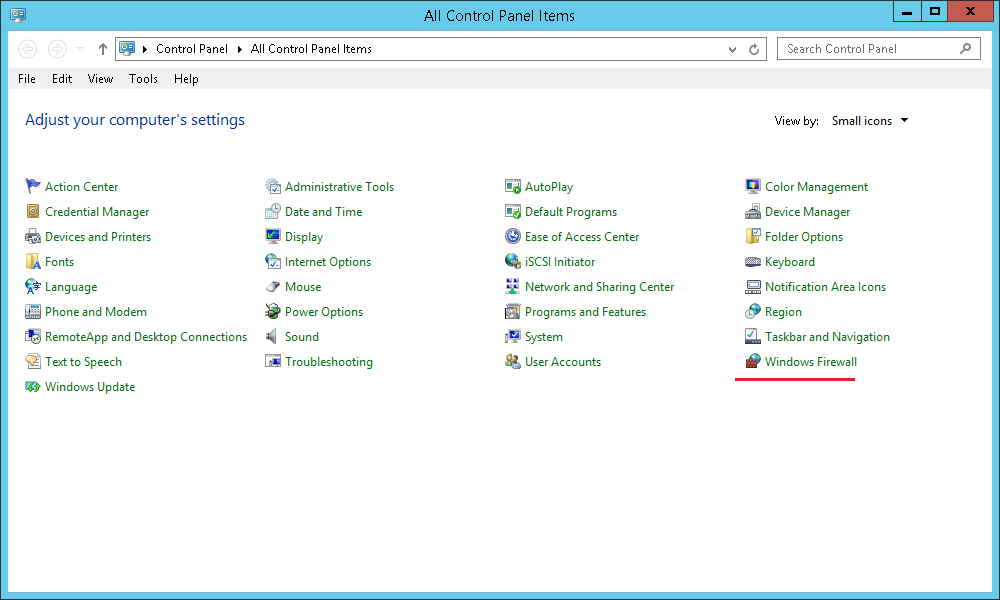
Press a ‘Start‘ button and find the ‘Control Panel‘ icon. After ‘Control panel‘ window popup, find ‘Windows Firewall‘ and click on it.
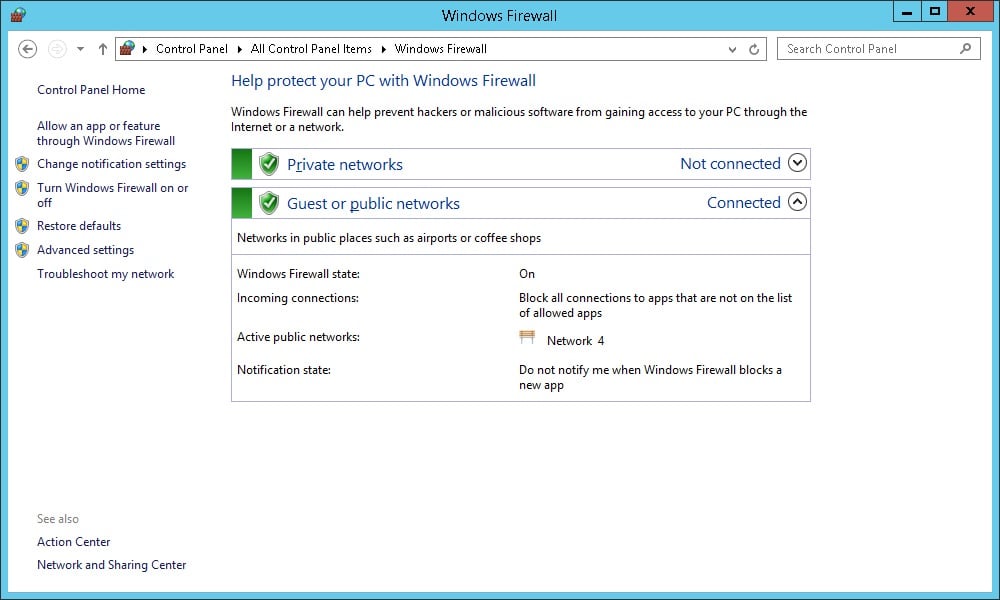
 Now you can see on left side few options: turn on/off the windows firewall, notification settings, restore defaults function and the advanced settings.
In this article, Hamster will take a look at advanced settings as first features you can manage easily without any explanation.
Advanced Settings
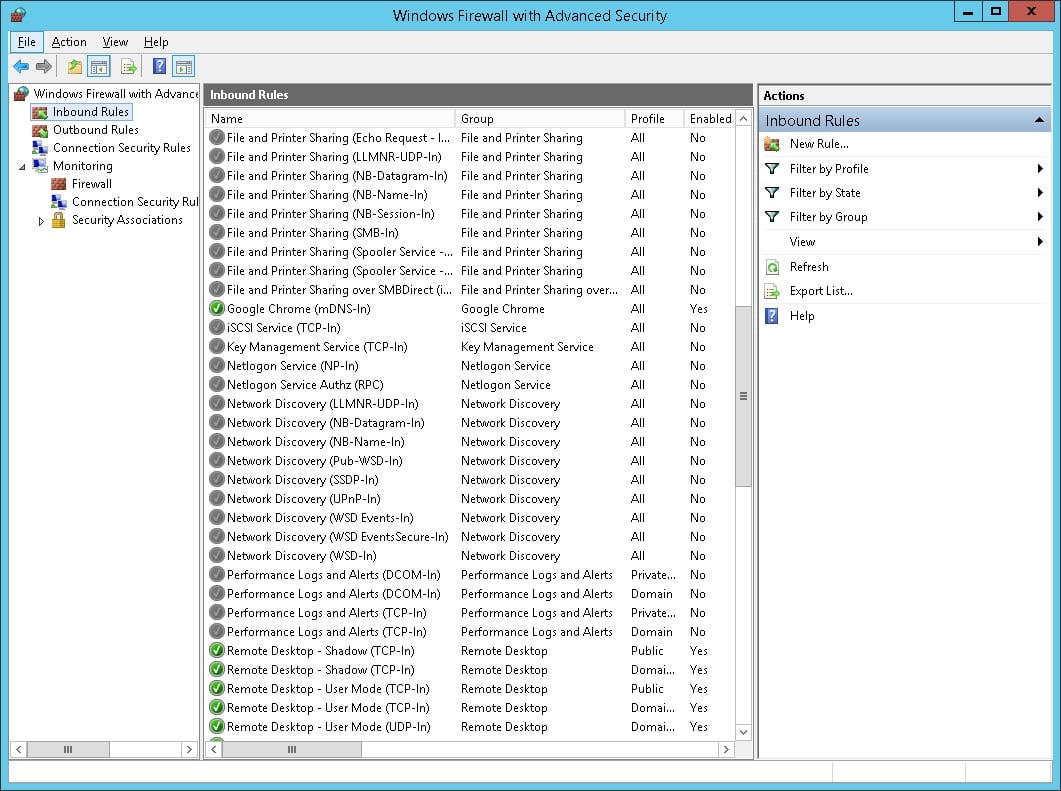
Once you press ‘Advanced Settings’, you will be able to see a window like this.
You can see a lot of settings. However, Hamster will look into ‘Inbound Rules’ and ‘Outbound Rules’ which are often ignored, especially when new software has been installed on the server.
Inbound Rules – refers to every incoming connection via specific port or software.
Outbound Rules – refers to every outgoing connection via specific port or software.
Case Study
Let’s imagine a typical situation that happens after the installation of the new software. It seems to work fine. However, it is not as it can not connect to the outside of the network.
In this case, you can simply create a new rule that lets to connect to the software from the outside.
Creating Rules
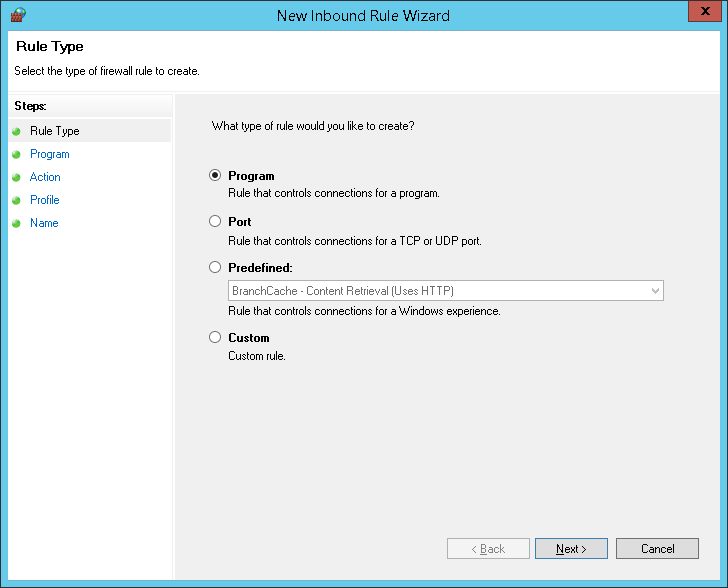
1. Press ‘New Rule…‘;
2. Choose ‘Program‘ and press ‘Next‘;
Program – Block or allow a program.
Port – Block or allow a port, port range, or protocol.
Predefined – Use a predefined firewall rule included with Windows.
Custom – Specify a combination of program, port, and IP address to block or allow.
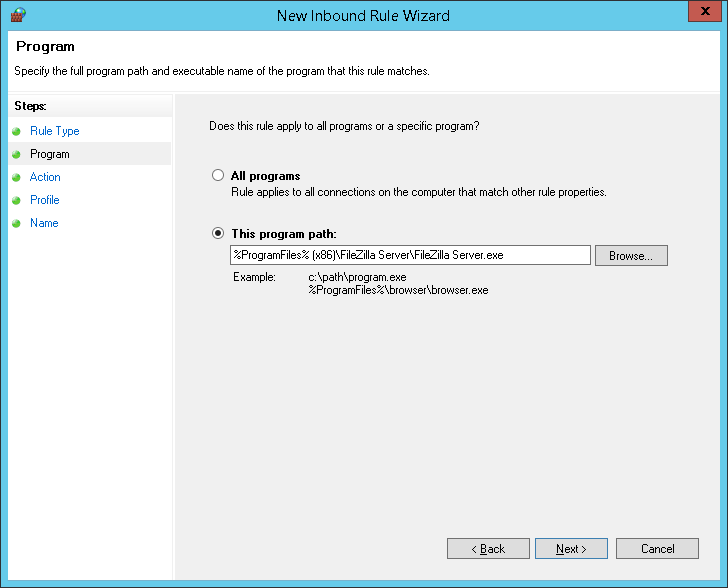
 3. Select ‘This program path:’ and press ‘Browse.’ Provide the full path to the main programs file (.exe) and press ‘Next’;
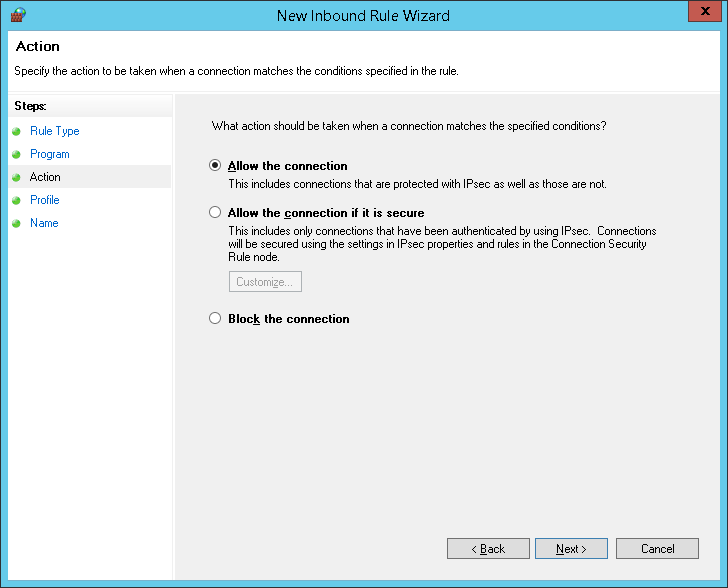
 4. In this step, choose whether to Allow/Block the connection. Once you have done that, press ‘Next‘;
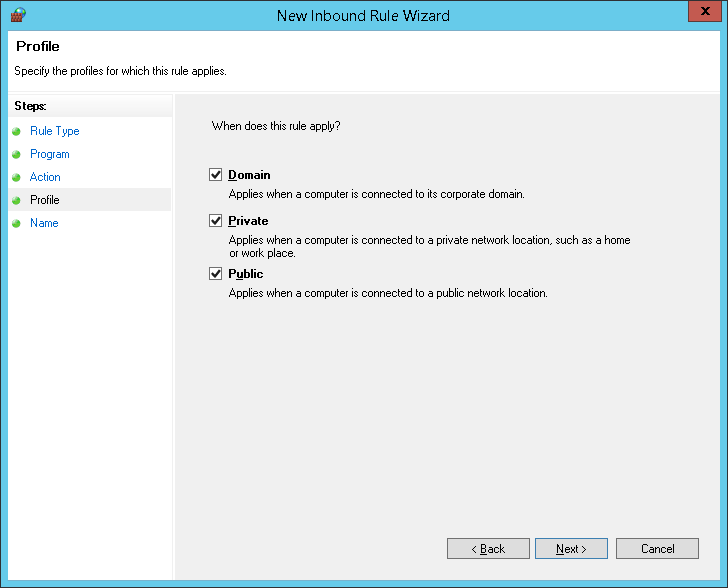
 5. In this step, you will have to choose when will be rule applied (Domain, Private, Public) and press ‘Next‘;
 6. Name the rule and enter a brief description for documentation, press “Finish.”
Note. The “Private” and “Public” in step 5, refer to either Private Network or Public Network.
This is the main instruction on how to create a rule. You can use the same principles by creating rules with the port. Custom rules are designed for a particular case. For primary usage, you are enough to know these main steps.
For more information, please visit this link.